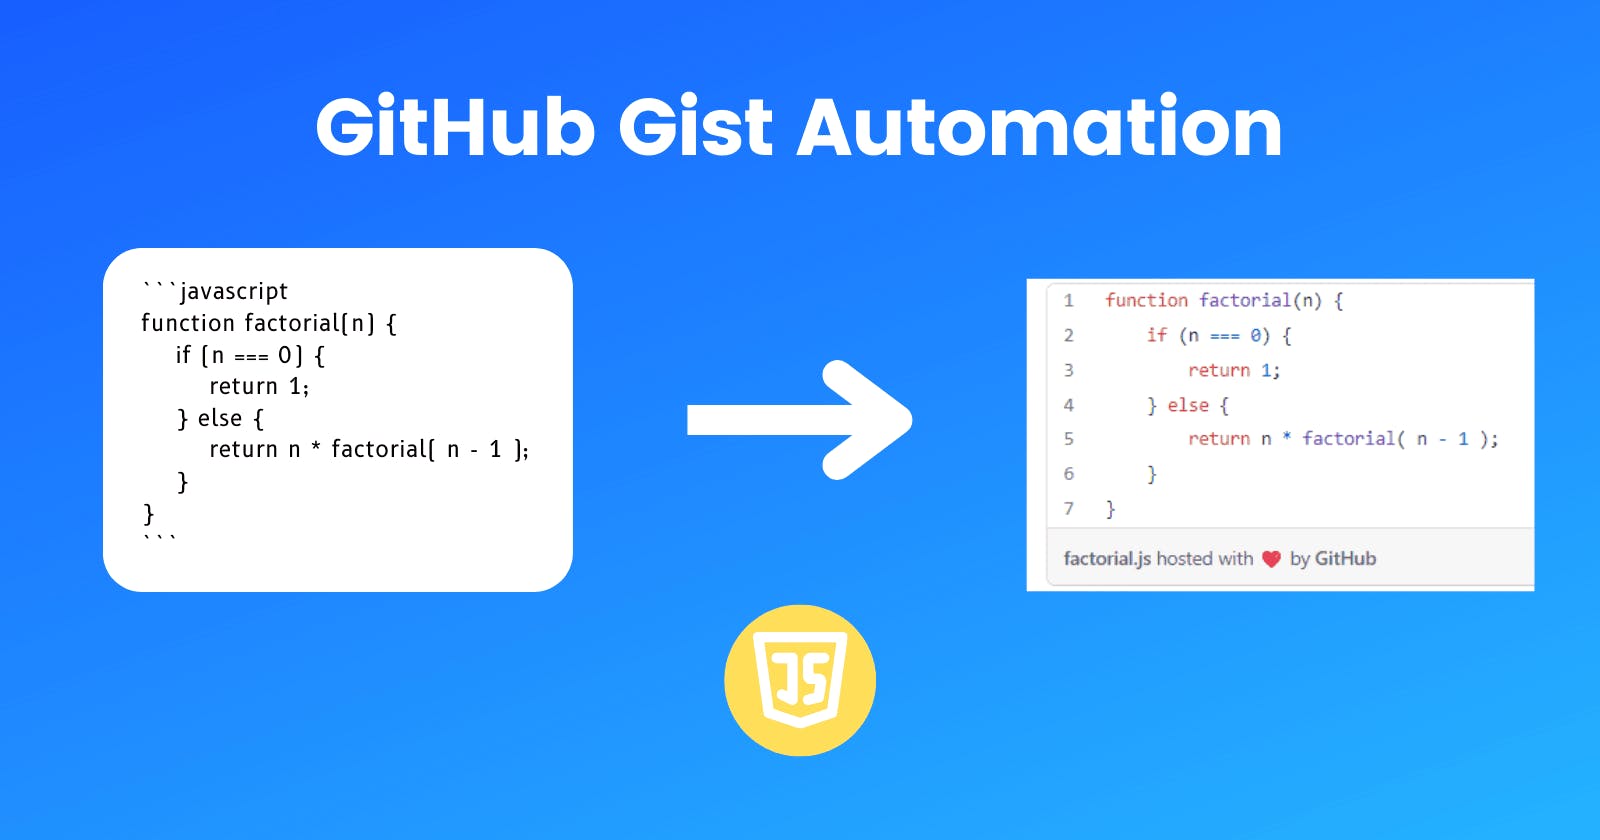
Many programming article publications require using GitHub Gists for longer code snippets.
For me, this meant that about a month ago, I had some extra work to do.
To adapt my article, I had to first copy the code blocks. Then create a new Gist. Then name the file. Then paste the content. Then save, click share, and then paste the link into Medium.
I would have rather spent all that time coming up with the topic for a new article. In this article, I will show you my process of developing a tool to automate the boring stuff. Below is a demo of how it will work.
Setting up
Initialise a Typescript node project and install the required libraries:
npm init -y
npm i -D @types/node typescript
npm i @octokit/auth-oauth-device @octokit/rest
Authorisation
First, we need to authorise the user for the app to be able to create gists. We do this through the GitHub device flow. Once the user verifies the application, we fetch the access token for creating gists.
import { createOAuthDeviceAuth } from "@octokit/auth-oauth-device";

const auth = createOAuthDeviceAuth({
    clientType: "oauth-app",
    clientId: "{YOUR_CLIENT_ID}",
    scopes: ["gist"],
    onVerification(verification) {
        console.log("Open %s", verification.verification_uri);
        console.log("Enter code: %s", verification.user_code);
    },
});

async function main() {
    const tokenAuthentication = await auth({
        type: "oauth",
    });

    console.log("Authenticated.");
}

main();
Initialising API client
We use the OAuth token from before to initialise the GitHub REST API client:
import { Octokit } from "@octokit/rest";

let octokit = new Octokit({
    auth: tokenAuthentication.token,
});;
Retrieving console input
We'll use the readline module to receive the code block from the user. Afterwards, we ask them to enter the filename for the gist.
import * as readline from "readline";

const rl = readline.createInterface({
    input: process.stdin,
    output: process.stdout,
});

rl.setPrompt(":");

let content = "";
let newlines = 2;

const resetInput = () => {
    content = "";
    newlines = 2;
};
We change the default prompt to : to avoid confusion with the Node console prompt (>).
We use newlines so that when the user enters 2 blank lines, we know the code has ended. But this does mean the code block can't contain more than 2 blank lines.
Reading each line of code
But first, let's define a function to make the rl.question function Promise-based.
const question = (prompt: string) => {
    return new Promise<string>((resolve, reject) => {
        rl.question(prompt, resolve);
    });
};
We'll now use readline to add the current line of input to the final input. Then we create the gist once it's time.
const readLines = () => {
    rl.on("line", async (input) => {
        // line feeds can appear in copied code
        input = input.replace("\r", "");

        // Append the line to the code content
        content += input + "\n";

        if (input === "") {
            newlines--;
        } else {
            newlines = 2;
        }

        // Once the user enters 2 blank lines
        if (newlines === 0) {
            content = content.trim();
            const fileName = await question("Filename: ");

            if (!fileName) {
                // Clear the current content
                resetInput();
                prompt();
                return;
            }

            // Creates a public gist
            const response = await octokit.rest.gists.create({
                public: true,
                files: {
                    [fileName]: {
                        content,
                    },
                },
            });

            // Outputs the link to the gist
            console.log(response.data.html_url);

            resetInput();
        }

        rl.prompt();
    });
};
Wrapping up
Here is the code to start the whole process:
async function main() {
    const tokenAuthentication = await auth({
        type: "oauth",
    });
    console.log("Authenticated.");

    octokit = new Octokit({
        auth: tokenAuthentication.token,
    });

    rl.prompt();
    readLines();
}

main();
And that's all! I published the code as a script on NPM which you can run with npx gist-generator. You can find all the source code in this repository.
If you enjoyed this article, make sure to follow me and stay tuned for more.

