


Introduction
Journaling.
No, not the traditional pocket-sized book one would carry around, eager to sprawl with their every thought. No, it was a Notion template. Because we are in a digital age. And I am a computer user.
Yet the only problem with the template was that pages had to be created manually for every quarter (season), month and week of the year. That's 68 in total that I would have had to create manually.
I first contacted the template's author for a quick tip on how to speed up the process. However, after numerous tries tinkering with Excel and learning a lot more about Excel formulae than I had set out to, I lit up with the idea of automation.
Yes. That's it. Just a simple frontend with a backend that would carry all the work. Notion has an API that I have at least heard of. date-fns makes working with dates more easy...
And, like that, it was settled.
Prerequisites
You will need:
Knowledge of NodeJS
Knowledge of TypeScript
The Life Journal template (FREE!)
Setup
Duplicate the starter Typescript template
Go to makenotion/notion-sdk-typescript-starter on GitHub and click "Use this template".

Open up a command prompt and clone the repository to your local machine.
Then, install the following NPM packages:
npm i @aws-sdk/client-s3 @resvg/resvg-js date-fns
Create a Notion integration
Head over to https://www.notion.com/my-integrations
Click "+ New Integration"
Go to the Secrets tab and copy the integration secret
Add the token to the project's
.envfileNOTION_TOKEN=******
Get started with StorJ
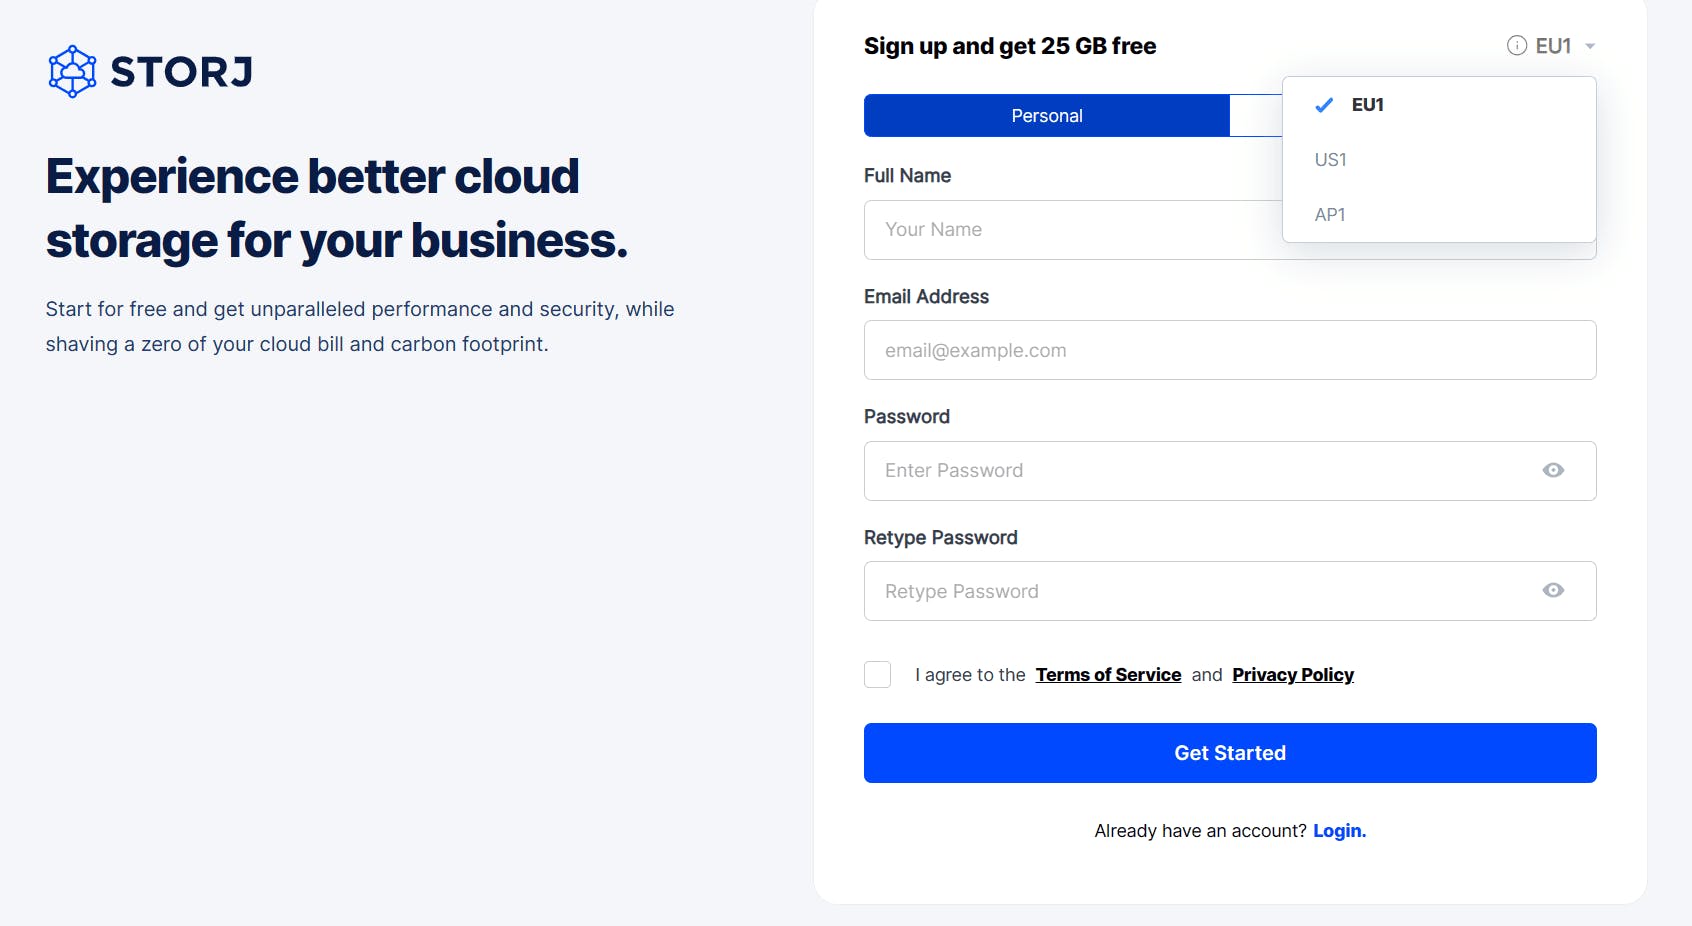
First, create an account.
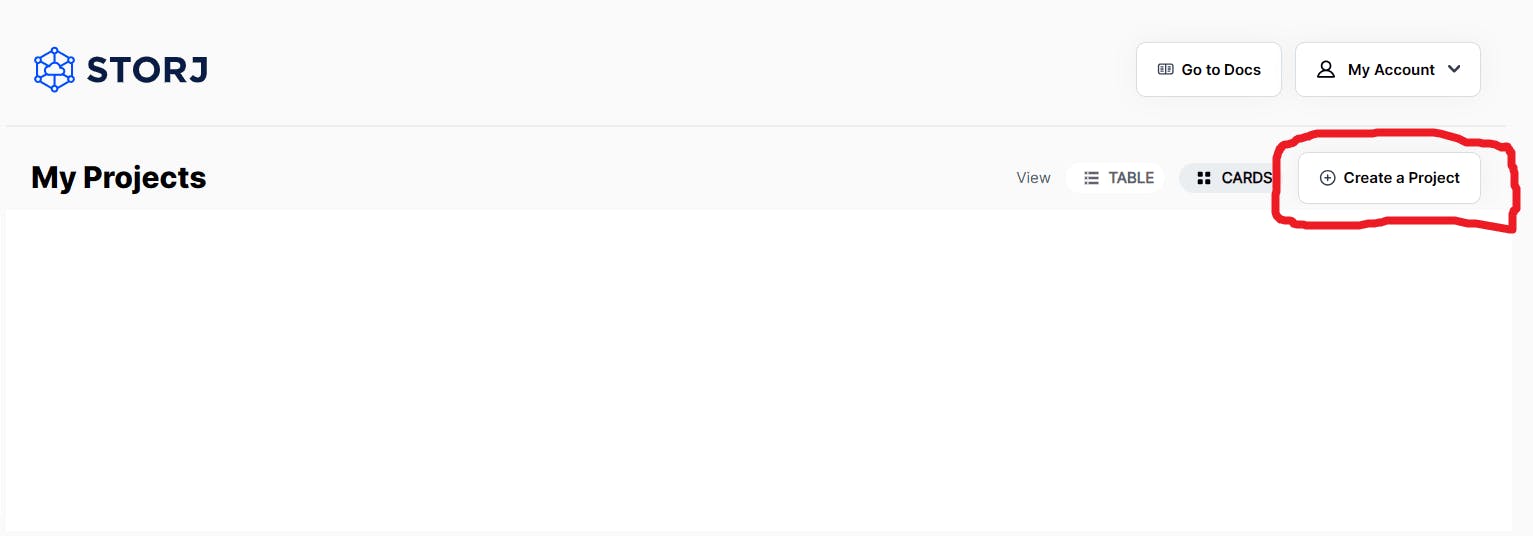
Then, create a new project.
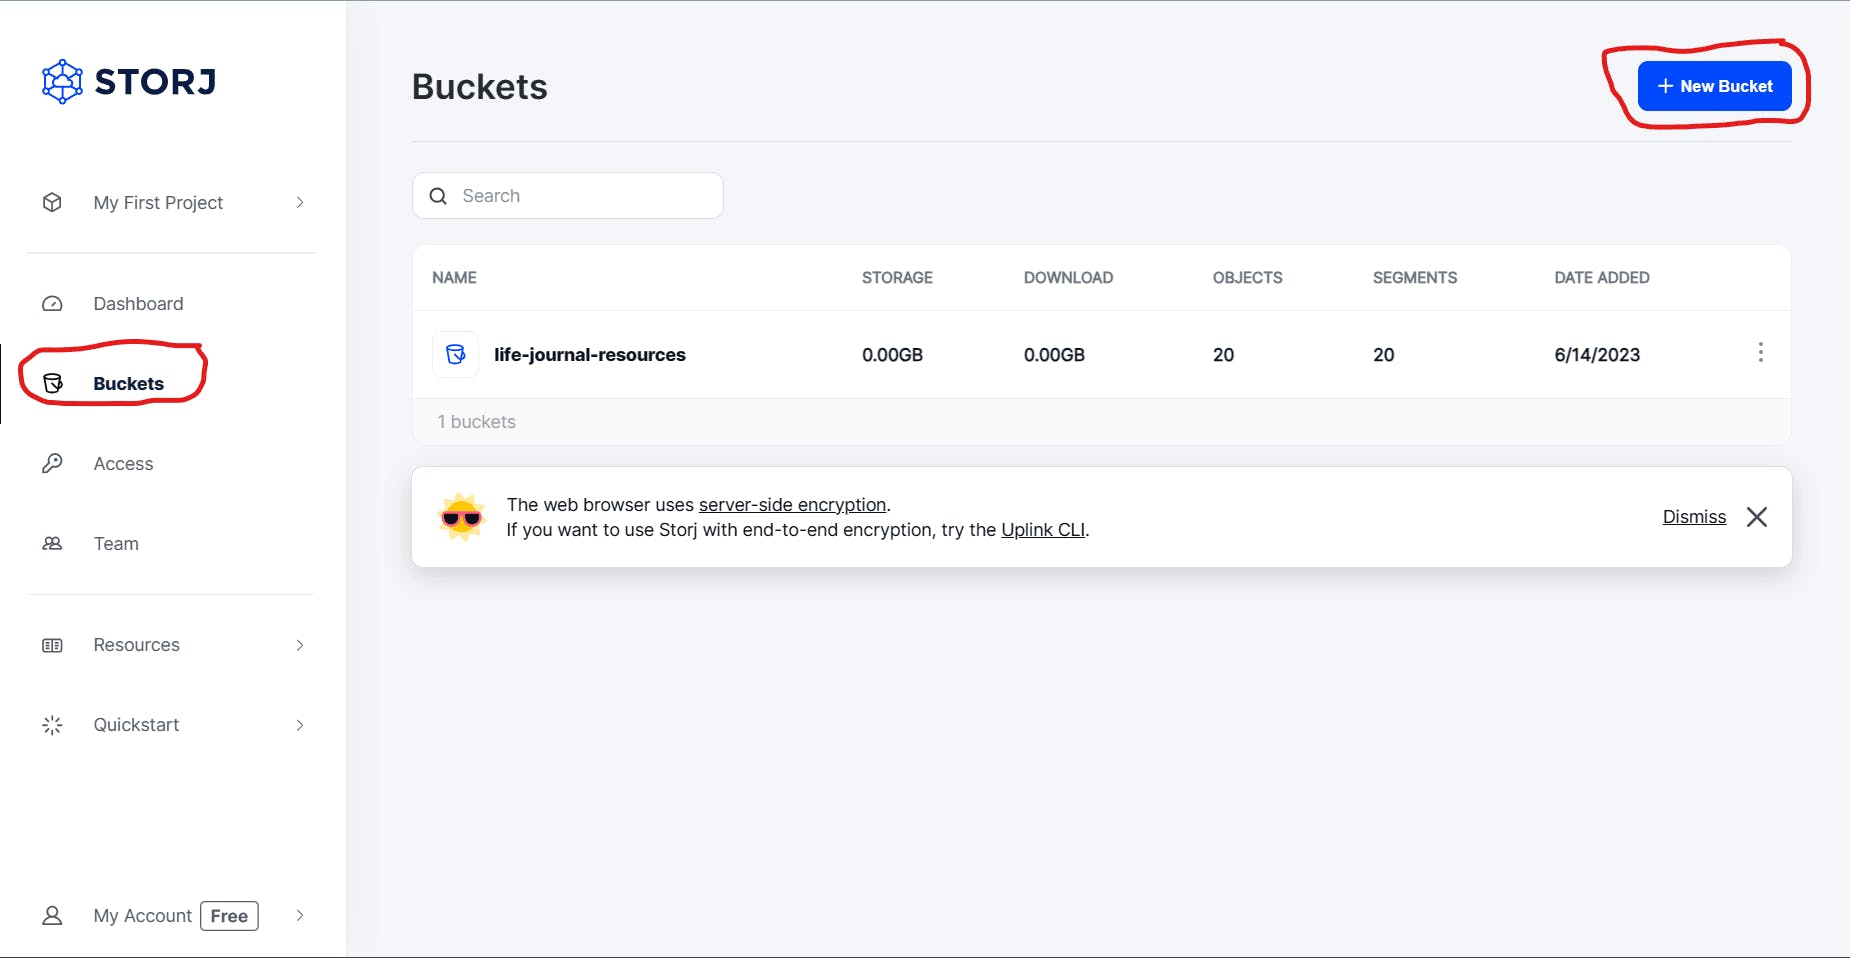
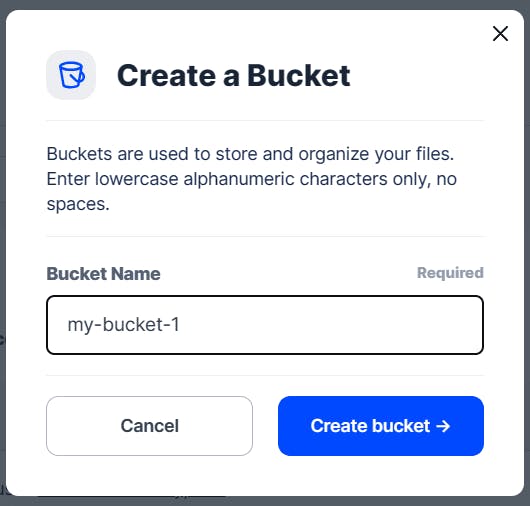
Now, create a bucket.
Then, create a new access to the bucket by clicking "Create Access Grant". Make sure to also select "S3 Credentials" in the dialog that appears.
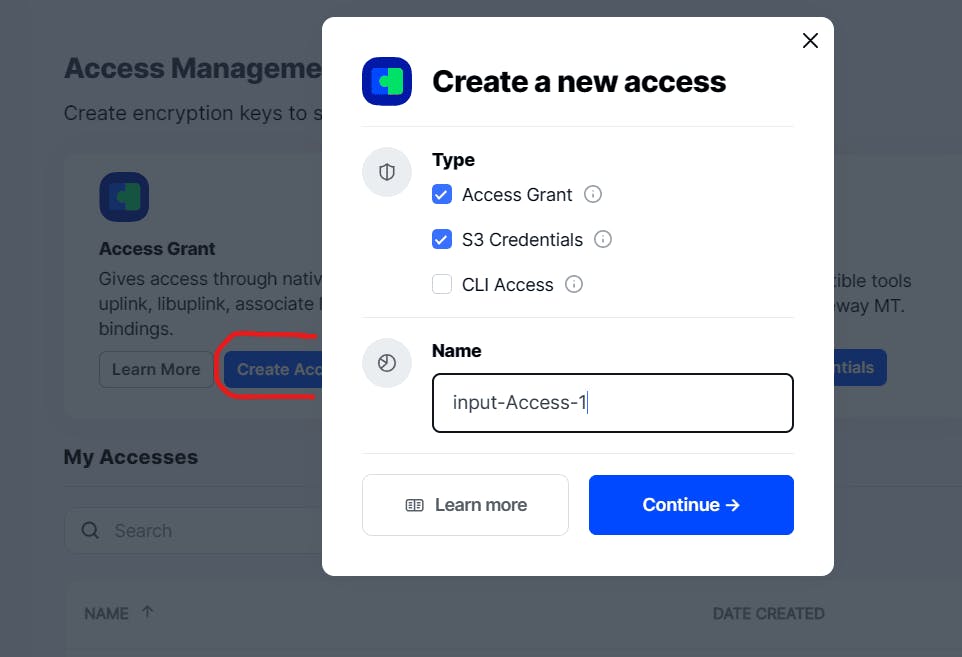
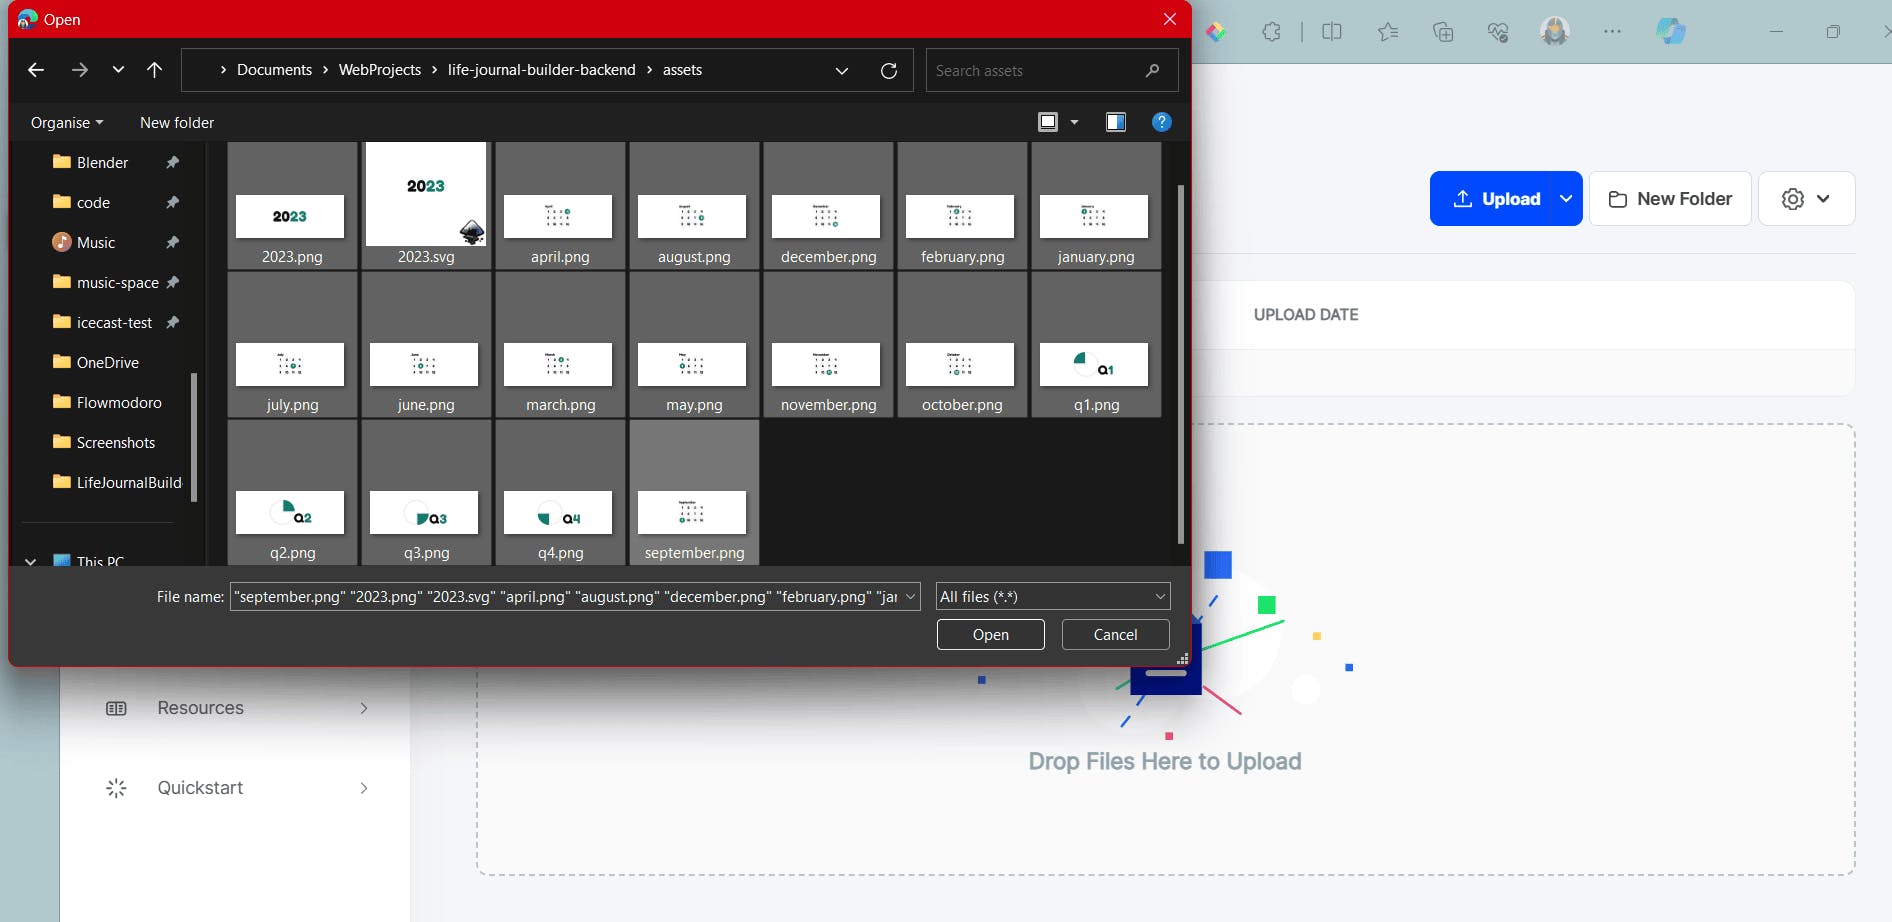
Now, we can upload the images our program requires. Get them here.
Confirm the following prompts and download each credential shown. Add these to the .env file:
STORJ_ACCESS_GRANT=******
STORJ_BUCKET_NAME=my-bucket
AWS_ACCESS_KEY_ID=******
AWS_SECRET_ACCESS_KEY=******
S3_ENDPOINT=https://gateway.storjshare.io
First Steps
Open up the index.ts file and replace with the following code:
import dotenv from 'dotenv'
import main from './main'

dotenv.config()
console.time()

main()
    .then(() => {
        console.timeEnd();
        process.exit(0)
    })
    .catch((err) => {
        console.error(err)
        process.exit(1)
    })
Now, add the following to a new main.ts file:
import { Client, LogLevel } from '@notionhq/client'

export default async function main() {
    const notion = new Client({
        auth: process.env.NOTION_TOKEN,
        logLevel: LogLevel.INFO,
        timeoutMs: 600_000
    })

    // ...
}
Finding the User’s Databases
Let's create a function in a new findDatabases.ts file that will search every database for the ones we need:
import type { Client } from '@notionhq/client';
import type { DatabaseObjectResponse } from '@notionhq/client/build/src/api-endpoints';

interface DatabaseIDs {
    weeks: string;
    months: string;
    quarters: string;
    years: string;
}

export default async function findDatabases(notion: Client) {
    const response = await notion.search({ filter: { property: 'object', value: 'database' } });
    const databaseIds: DatabaseIDs = { weeks: '', months: '', quarters: '', years: '' };

    let title: string;
    let id: string;

    let missing = ['weeks', 'months', 'quarters', 'years'];

    for (const database of response.results as DatabaseObjectResponse[]) {
        title = database.title
            .map((titleObj) => titleObj.plain_text)
            .join('')
            .toLowerCase();
        id = database.id;

        switch (title) {
            case 'weeks':
            case 'months':
            case 'quarters':
            case 'years':
                databaseIds[title] = id;
                missing = missing.filter((val) => val !== title);
                break;
        }
    }

    if (missing.length > 0)
        throw new Error(`missing the following database(s): ${missing.join(', ')}`);

    return databaseIds;
}
So, now we can update main.ts to get these IDs:
import findDatabases from './findDatabases'

export default async function main() {
    const notion = ...;

    const databaseIds = await findDatabases(notion);

    // ...
}
Finishing the Main Script
// ...
import createWeekPages from './weeks'
import createMonthPages from './months'
import createQuarterPages from './quarters'
import createYearPage from './year'
import type { PartialPageObjectResponse } from '@notionhq/client/build/src/api-endpoints';

const extractIds = (pages: (PartialPageObjectResponse | undefined)[]) =>
    (pages.filter((page) => page !== undefined) as PartialPageObjectResponse[]).map(
        (page) => page.id
    );

export default async function main() {
    // ...

    const weekIds = extractIds(await createWeekPages(notion, databaseIds.weeks));
    const monthIds = extractIds(await createMonthPages(notion, databaseIds.months, weekIds));
    const quarterIds = extractIds(await createQuarterPages(notion, databaseIds.quarters, monthIds));
    await createYearPage(notion, databaseIds.years, quarterIds);
}
Finding Date Ranges
Create a new folder named utils within src. Inside this folder, create a date.ts, and add the following code:
import getYear from 'date-fns/getYear/index.js';
import addDays from 'date-fns/addDays/index.js';
import format from 'date-fns/format/index.js';

interface DateRange {
    start: string;
    end: string;
}

export function formatDate(date: Date) {
    return format(date, 'yyyy-MM-dd');
}

export function getCurrentYear() {
    return getYear(new Date());
}

// Return the date range for n weeks/months/quarters/years,
// dictated by the endOfFunction (so there could be endOfMonth, e.g.)
export function getDateRanges(
    endOfFunction: (date: Date, params?: { [key: string]: number }) => Date,
    n: number,
    params: { [key: string]: number } = {},
) {
    const year = getCurrentYear();
    const ranges: (DateRange | undefined)[] = [];

    let start = new Date(`1 Jan ${year}`);

    if (params.weekStartsOn && !isMonday(start)) {
        // The start of a week MUST be a Monday
        start = nextMonday(start);
    }


    for (let i = 0; i < n; i++) {
        const end = endOfFunction(start, params);

        ranges.push(
            {
                start: formatDate(start),
                end: formatDate(end)
            }
        );

        start = addDays(end, 1);
    }

    return ranges;
}
Creating Pages for each Date Range
The following will also be in utils/date.ts:
// ...
import { retrieveImage } from './images';
import { createPage } from './notion';
import type { Client } from '@notionhq/client';
import nextMonday from 'date-fns/nextMonday/index.js';
import isMonday from 'date-fns/isMonday/index.js';

// ...


interface Options {
    getDateRanges: () => (DateRange | undefined)[];
    getImageName?: (i: number) => string;
    getTitle: (year: string, i: number) => string;
    databaseId: string;
    dateRangeField: string;
    relations?: {
        name: string;
        ids: string[];
        // 0-indexed
        getSelection: (year: number, i: number) => [number, number];
    };
}

// Create a Notion page for each date range,
// set with title, coverImage, relations?,
// for the given type of object
export async function createTimeRangePages(notion: Client, type: string, options: Options) {
    const year = getCurrentYear();
    const dateRanges = options.getDateRanges();

    return Promise.all(
        dateRanges.map(async (dateRange, i) => {
            if (!dateRange) return Promise.resolve(undefined);

            const coverImage = retrieveImage(options.getImageName?.(i + 1));
            let relationsOutput: { [key: string]: string[] } = {};

            if (options.relations) {
                relationsOutput = {
                    [options.relations.name]: options.relations.ids.slice(
                        ...options.relations.getSelection(year, i)
                    )
                };
            }

            const response = await notion.pages.create(
                createPage(type, options.getTitle(year.toString(), i + 1), coverImage, options.databaseId, {
                    [options.dateRangeField]: dateRange,
                    ...(options.relations ? relationsOutput : {})
                })
            );

            return response;
        })
    );
}
Retrieving Images
Place the following in a new utils/images.ts file:
export function retrieveImage(name?: string) {
    if (!name) return '';

    const accessGrant = process.env.STORJ_ACCESS_GRANT as string;
    const bucketName = process.env.STORJ_BUCKET_NAME as string;
    return `https://link.storjshare.io/raw/${accessGrant}/${bucketName}/${name}.png`;
}
Creating a Notion page
Create a new file named utils/notion.ts. Here we will simplify the interaction with the Notion API for creating a page, complete with title, cover image, date range, parent, and relations.
import type { CreatePageParameters } from '@notionhq/client/build/src/api-endpoints.js';
import { APIErrorCode, ClientErrorCode, isNotionClientError } from '@notionhq/client';

function createCoverImage(
    image?: string
): { type: 'external'; external: { url: string } } | undefined {
    if (!image) return;
    return {
        type: 'external',
        external: {
            url: image
        }
    };
}

function createTitle(title: string) {
    return {
        title: [
            {
                text: {
                    content: title
                }
            }
        ]
    };
}

function createParentRelation(parentId: string): {
    type: 'database_id';
    database_id: string;
} {
    return {
        type: 'database_id',
        database_id: parentId
    };
}

function isDateRange(object: any): object is { start: string; end: string; } {
    return 'start' in object && 'end' in object;
}

function createProperties(props: { [key: string]: any }) {
    return Object.fromEntries(
        Object.entries(props).map(([name, value]) => {
            const key = name;
            const output: { [key: string]: any } = {};

            if (value instanceof Array) {
                output.relation = value.map((id) => ({ id }));
            } else if (isDateRange(value)) {
                output.date = value;
            }

            return [key, output];
        })
    );
}

export function createPage(
    type: string,
    title: string,
    coverImage: string,
    parentId: string,
    props: { [key: string]: any }
): CreatePageParameters {
    return {
        cover: createCoverImage(coverImage),
        parent: createParentRelation(parentId),
        properties: {
            [type]: createTitle(title),
            ...createProperties(props)
        }
    } as any;
}

export function handleNotionError(error: unknown) {
    if (isNotionClientError(error)) {
        switch (error.code) {
            case ClientErrorCode.RequestTimeout:
                throw new Error(error.message);
            case APIErrorCode.ObjectNotFound:
            case APIErrorCode.Unauthorized:
                throw new Error(error.message);
            default:
                break;
        }
    }
}
Week Pages
// src/weeks.ts
import { getDateRanges, createTimeRangePages } from './utils/date';
import endOfWeek from 'date-fns/endOfWeek/index.js';
import type { Client } from '@notionhq/client';

function getWeekRanges() {
    return getDateRanges(endOfWeek, 52, { weekStartsOn: 1 });
}

export default function createWeekPages(
    notion: Client,
    databaseId: string,
) {
    return createTimeRangePages(notion, 'Week', {
        getDateRanges: getWeekRanges,
        getTitle: (year: string, i: number) => `${year}-W${i.toString().padStart(2, '0')}`,
        databaseId,
        dateRangeField: 'Dates'
    });
}
Month Pages
import { getDateRanges, createTimeRangePages } from './utils/date';
import endOfMonth from 'date-fns/endOfMonth/index.js';
import format from 'date-fns/format/index.js';
import addMonths from 'date-fns/addMonths/index.js';
import getWeek from 'date-fns/getWeek/index.js';
import nextMonday from 'date-fns/nextMonday/index.js';
import isMonday from 'date-fns/isMonday/index.js';
import type { Client } from '@notionhq/client';

function getMonthRanges() {
    return getDateRanges(endOfMonth, 12);
}

function getMonthName(i: number) {
    return format(addMonths(new Date('1 Jan'), i - 1), 'MMMM').toLowerCase();
}

// Get the range of 0-indexed week numbers that are in
// a given month for a given year
function getWeekSelection(year: number, i: number): [number, number] {
    let start = addMonths(new Date(`1 Jan ${year}`), i);
    const end = endOfMonth(start);

    // A month only includes a certain week if the Monday of
    // the week is in the month
    // e.g. The first week in March 2025 is week 10, despite
    // March 1st being in week 9
    if (!isMonday(start)) {
        start = nextMonday(start);
    }

    let endWeek = getWeek(end, { weekStartsOn: 1 });

    if (endWeek === 1) {
        // The year can't end on the 1st week.
        // `1` means the 1st week of the new year, and
        // we can't slice [48:1] as the result would be empty
        endWeek = 52;
    }

    // e.g. `getWeek(start) = 1`, so week 1 - first week of year
    // but adding {weekStartsOn: 1} makes it week 2 - 2nd week
    // Subtract 2 from start week for 0-based index

    // `getWeek(end) = 5`, so week 5 - fifth week of year
    // again, adding weekStartsOn makes this now 6
    // Subtract only 1 from end week for 0-based index, which
    // allows for slicing a range (i.e. [0,1,2,3,4]) being 5 weeks
    return [getWeek(start, { weekStartsOn: 1 }) - 2, endWeek - 1];
}

export default function createMonthPages(notion: Client, databaseId: string, weekIds: string[]) {
    return createTimeRangePages(notion, 'Month', {
        getDateRanges: getMonthRanges,
        getImageName: (i: number) => getMonthName(i),
        getTitle: (year: string, i: number) => `${year}-${i.toString().padStart(2, '0')}`,
        databaseId,
        dateRangeField: 'Dates',
        relations: {
            name: 'Weeks',
            ids: weekIds,
            getSelection: getWeekSelection
        }
    });
}
Quarter Pages
import { getDateRanges, createTimeRangePages } from './utils/date';
import endOfQuarter from 'date-fns/endOfQuarter/index.js';
import quartersToMonths from 'date-fns/quartersToMonths/index.js';
import type { Client } from '@notionhq/client';

function getQuarterRanges() {
    return getDateRanges(endOfQuarter, 4);
}

function getMonthSelection(_: number, i: number): [number, number] {
    return [quartersToMonths(i), quartersToMonths(i + 1)];
}

export default function createQuarterPages(notion: Client, databaseId: string, monthIds: string[]) {
    return createTimeRangePages(notion, 'Quarter', {
        getDateRanges: getQuarterRanges,
        getImageName: (i: number) => `q${i}`,
        getTitle: (year: string, i: number) => `${year}-Q${i}`,
        databaseId,
        dateRangeField: 'Date Range',
        relations: {
            name: 'Months',
            ids: monthIds,
            getSelection: getMonthSelection
        }
    });
}
Year Page
import { getCurrentYear } from './utils/date';
import { retrieveImage } from './utils/images';
import { createPage } from './utils/notion';
import type { Client } from '@notionhq/client';

export default async function createYearPage(
    notion: Client,
    databaseId: string,
    quarterIds: string[]
) {
    const year = getCurrentYear().toString();
    const coverImage = retrieveImage(year);

    return notion.pages.create(
        createPage('Year', year, coverImage, databaseId, {
            Quarters: quarterIds
        })
    );
}
Uploading the New Year Image
Finally, we can create a script file named year-image-upload.js . Here, we use @resvg/resvg-js to edit a "2023" SVG image with the number for the new year. Then, we upload the new image to the StorJ bucket.
const { Resvg } = require("@resvg/resvg-js");
const fs = require("fs/promises");
const process = require("process");
const { PutObjectCommand, S3Client } = require("@aws-sdk/client-s3");
const dotenv = require("dotenv");
const getYear = require("date-fns/getYear");

dotenv.config();

const client = new S3Client({
    endpoint: process.env.S3_ENDPOINT,
    region: "eu-west-1",
});

async function main() {
    const year = (getYear(new Date()) + 1).toString();

    const filename = `${year}.png`;
    const firstPart = year.slice(0, 2);
    const lastPart = year.slice(2);

    console.log("Reading original file...");
    let contents = await fs.readFile("./2023.svg");
    contents = contents.toString();

    contents = contents
        .replace(
            `style="stroke-width:0.264583">20`,
            `style="stroke-width:0.264583">${firstPart}`
        )
        .replace(`id="tspan2333">23`, `id="tspan2333">${lastPart}`);

    console.log("Source file edited");

    // convert SVG to PNG buffer
    const resvg = new Resvg(contents, {
        background: "rgb(255, 255, 255)",
    });
    const buffer = resvg.render().asPng();

    console.log("Converted to PNG format");

    // upload to Storj (AWS)
    await client.send(
        new PutObjectCommand({
            Bucket: process.env.S3_BUCKET_NAME,
            Key: filename,
            Body: buffer,
        })
    );

    console.log("Uploaded!");
}

main()
    .then(() => process.exit(0))
    .catch((err) => {
        console.error(err);
        process.exit(1);
    });
Conclusion
And that's all!
Today, we used the Notion API to interact with our journal template, so that we could create the pages we need. To see this project in action, I created a website version.
As always, I've left the code for this article at GitHub.
If you liked this post, stay tuned until next time.
References
date-fns - modern JavaScript date utility library