

Build Your Own AI-Powered Virtual Assistant on the Web
Work with Typescript and React to build a hassle-free Alexa clone powered by the Houndify API

I am a developer with 7 years of experience. At the moment I am working on building cool projects with JavaScript and the web for people to enjoy.
In this article, I will show you how you can integrate the Houndify API to make a personal assistant like Alexa or Siri if you don't want to spend the money. Below is a demo of what we'll be making.
Setting up
We'll make this project using create-react-app and Typescript.
npx create-react-app my-assistant --template typescript
Once that has been done, let's install the libraries we need to get started.
npm i houndify jotai react-feather
This will give us the following:
The Houndify node SDK
Jotai: a simple state management library (as an alternative to the React Context API)
react-feather is a wrapper for great open-source icons from https://feathericons.com/
And we'll also use Sass to style our components and install with npm i -D sass.
Creating the server
We first need a server to authenticate requests to the Houndify API. The Houndify SDK provides a HoundifyExpress object. This will attach to an Express server and add the route we need inside server.js. Add the following code to set up the server:
const express = require("express");
const path = require("path");
const houndifyExpress = require("houndify").HoundifyExpress;
const app = express();
require("dotenv").config({ path: "./.env" });

const PORT = process.env.PORT || 8080;

app.use(express.static(path.join(__dirname, "build")));

app.get("/", function (req, res) {
    res.sendFile(path.join(__dirname, "build", "index.html"));
});

app.get(
    "/houndifyAuth",
    houndifyExpress.createAuthenticationHandler({
        clientId: process.env.HOUNDIFY_CLIENT_ID,
        clientKey: process.env.HOUNDIFY_CLIENT_KEY,
    })
);

app.listen(PORT, () => console.log(`Listening on port ${PORT}`));
Note that it also serves an index.html file from the build directory. So, if we were to deploy this application, we would first run npm run build to generate the static files. Then run node server.js to spin up the server to access the application from there.
Also, notice the environment variables we are using, configured in .env, which we have not yet added. We also don't have a client ID and client key. So let's get started on the Houndify API.
Using the API dashboard
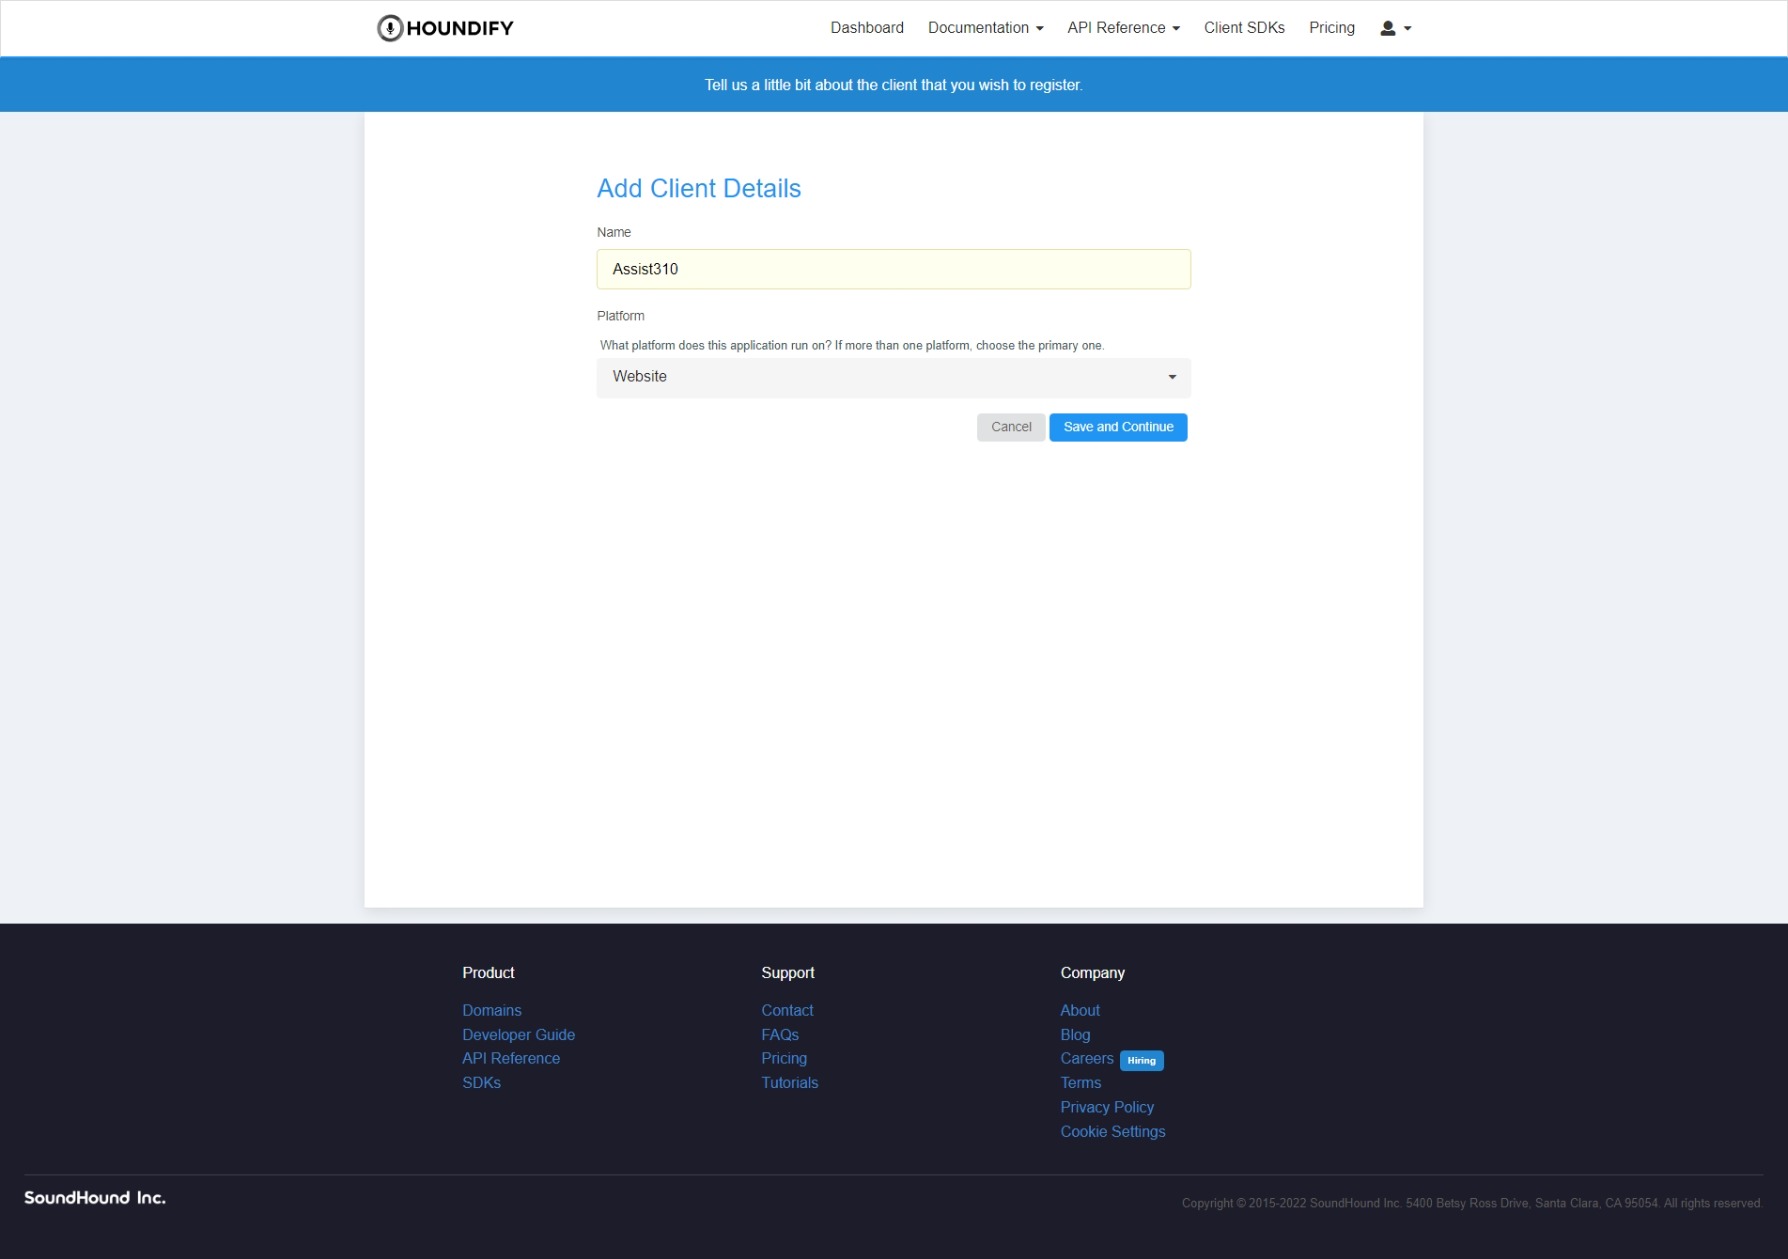
Create a developer account for free at Houndify and create a new client. Once you're there, enter the name and type of app like so:
Now you should be greeted with a page asking you which domains you want enabling for the app. We'll be using the following ten domains (all from the first page):
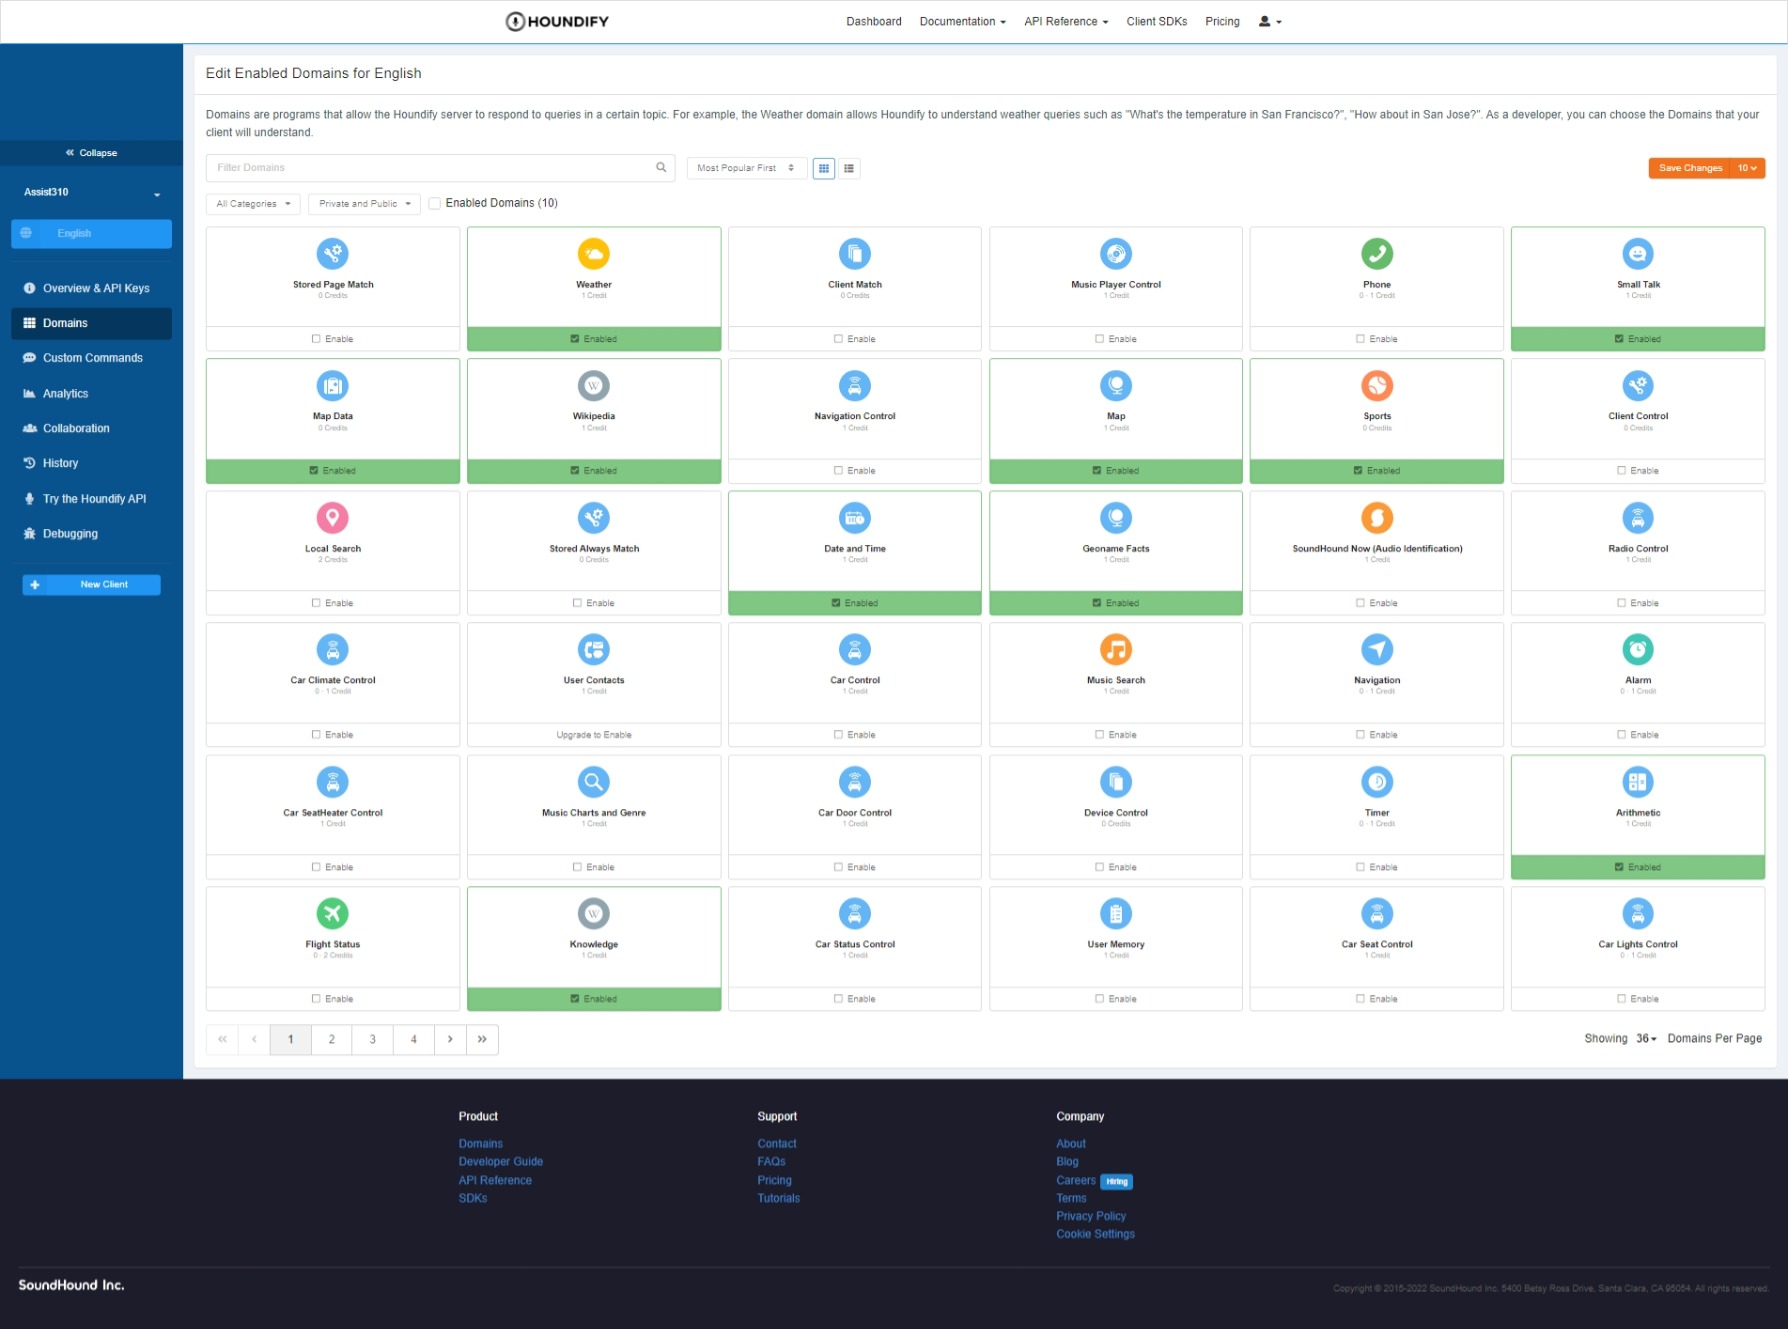
If you take a look, a few of these domains need client integration. The client-side must apply extra logic to integrate the functionality. We can always add in other domains later, but for now, we don't need them.
Click on the button that says Overview & API keys:
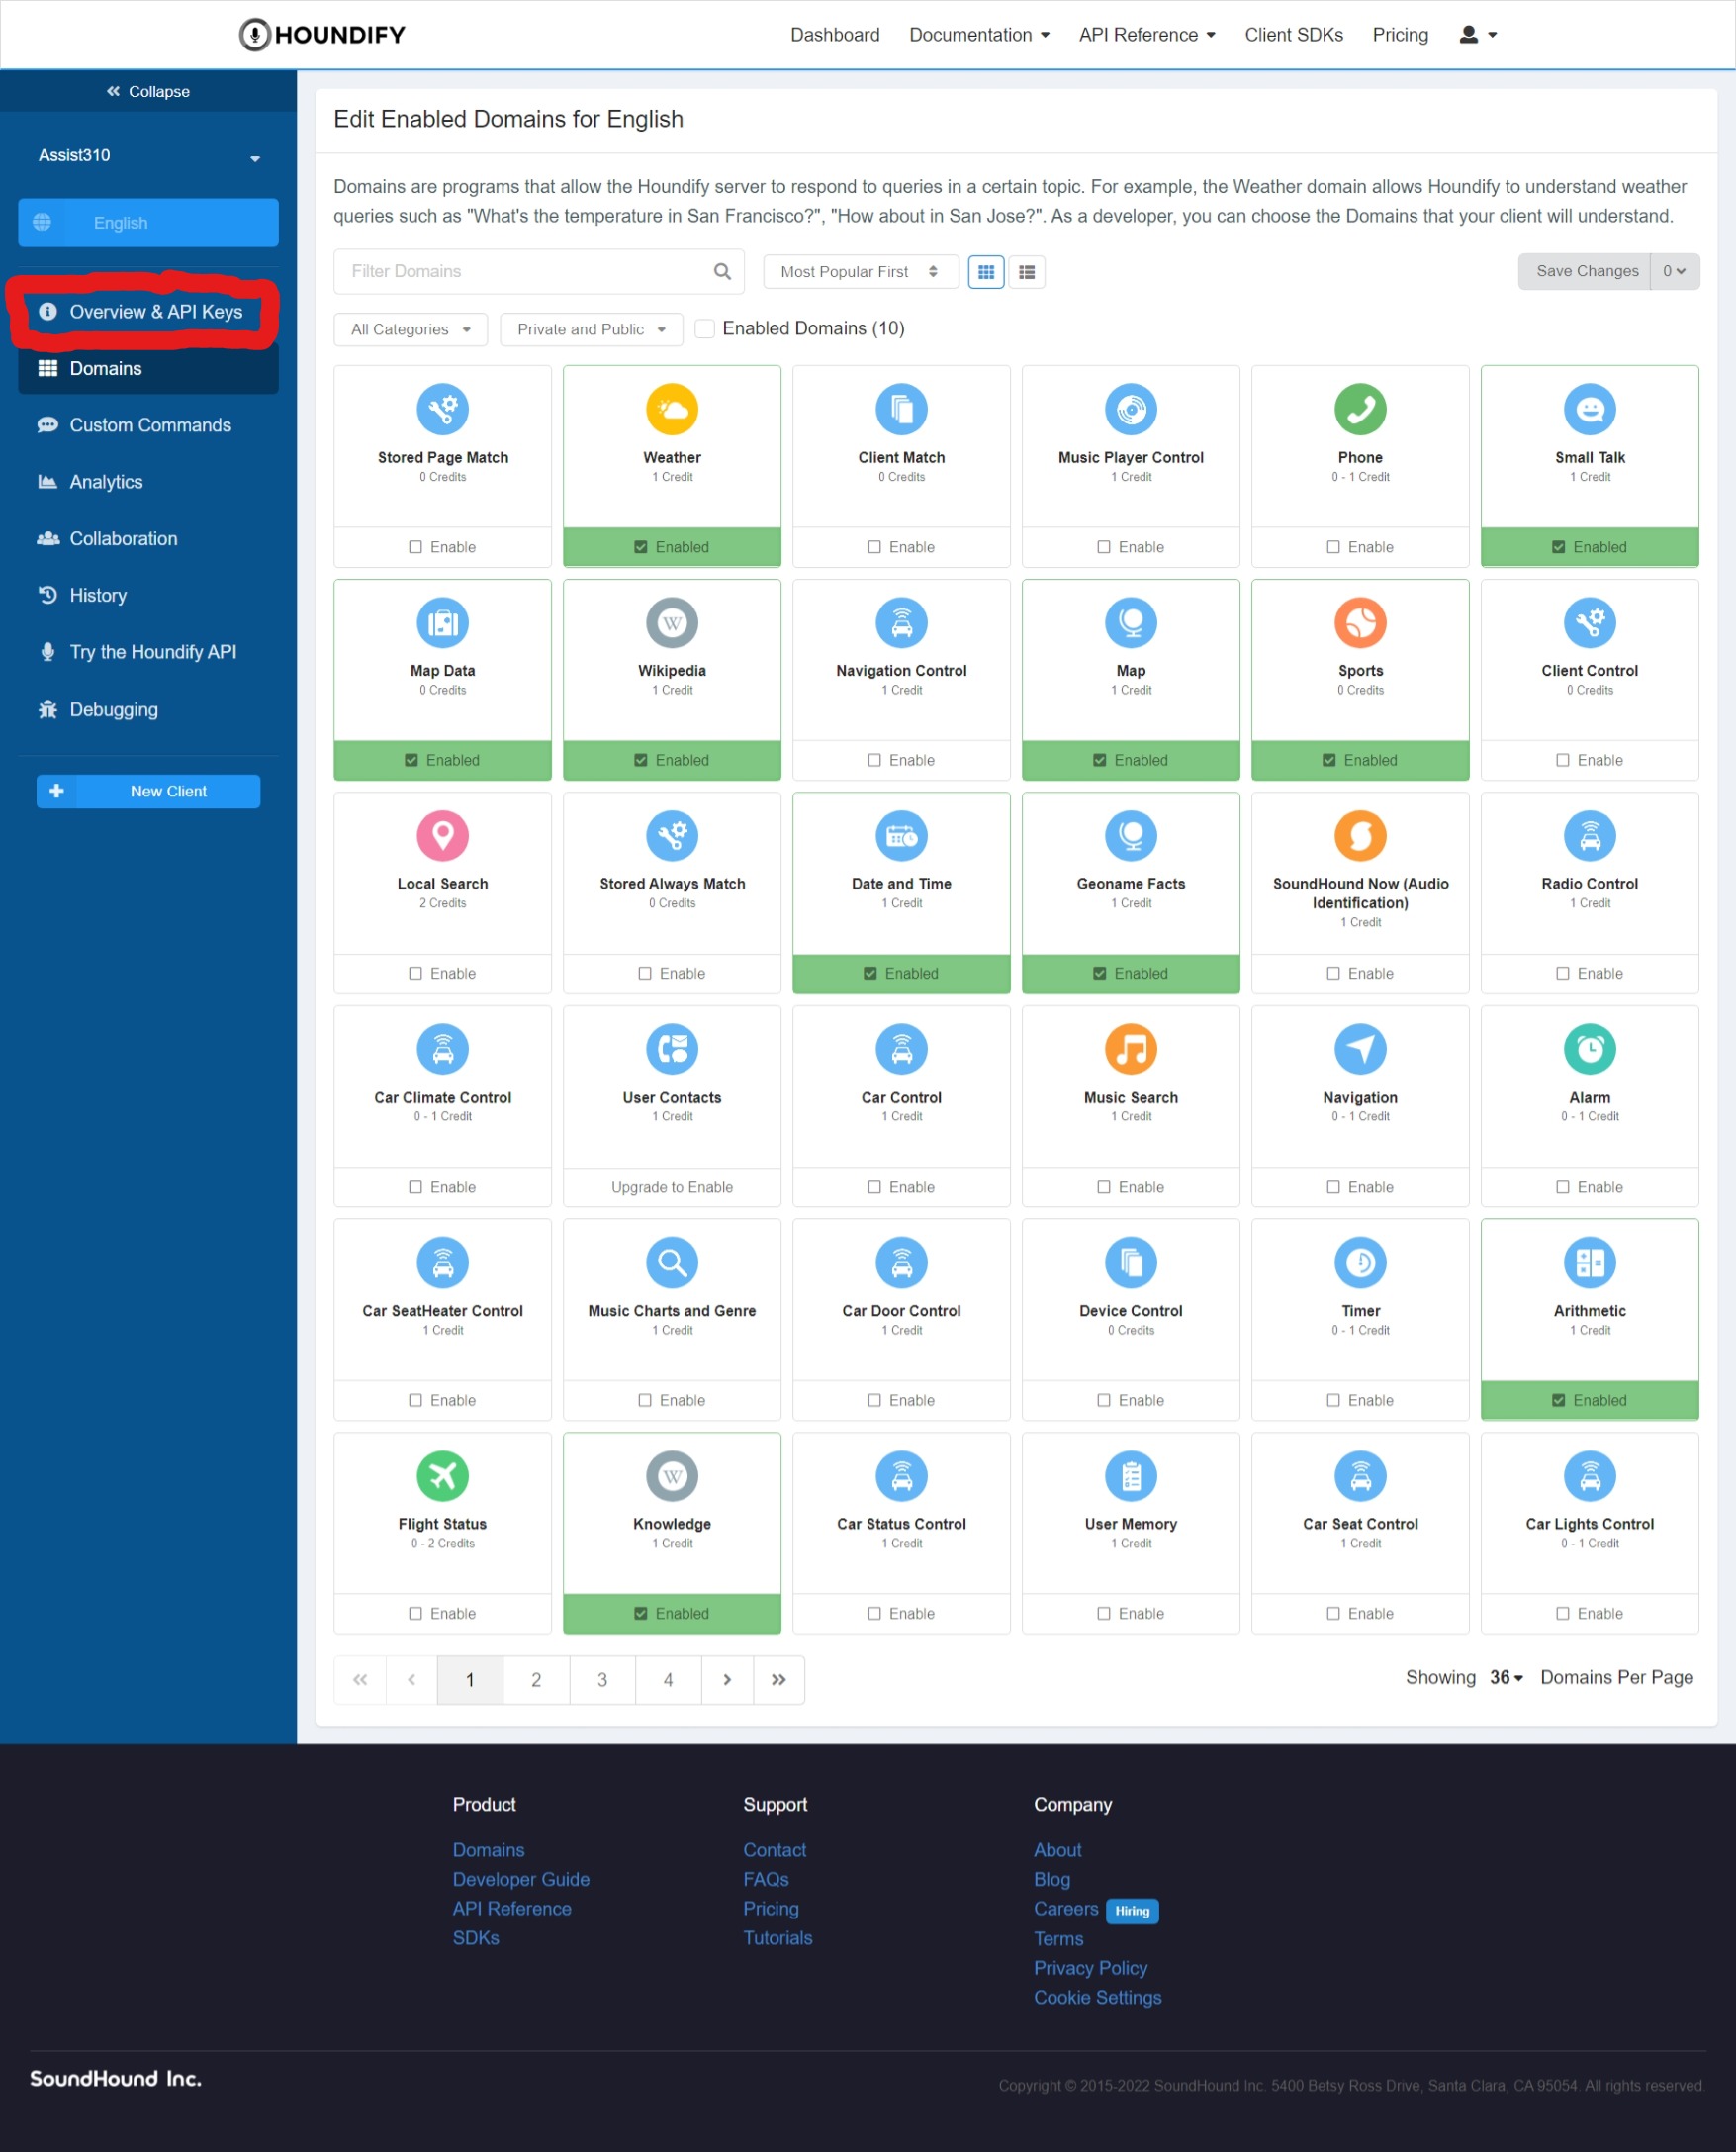
And once you're there, copy the client ID and client key and add them to the following .env file:
HOUNDIFY_CLIENT_ID={YOUR_CLIENT_ID}
HOUNDIFY_CLIENT_KEY={YOUR_CLIENT_SECRET}
Now we're ready to start building out the frontend.
Creating a voice request
First, open up the src directory and delete the following files we don't need:
logo.svg
setupTests.ts
App.test.tsx
Then, define a function to initialise a voice request to the Houndify API. It takes information about the audio stream, and handlers to capture various events.
//lib/initVoiceRequest.ts
import { RequestHandlers } from "./types";

export default function initVoiceRequest(
    recorder: any,
    conversationState: object,
    handlers: RequestHandlers
) {
    // @ts-ignore (2339)
    const voiceRequest = new window.Houndify.VoiceRequest({
        //Your Houndify Client ID
        clientId: "{YOUR_CLIENT_ID}",

        authURL: "/houndifyAuth",

        //REQUEST INFO JSON
        //See https://houndify.com/reference/RequestInfo
        requestInfo: {
            UserID: "test_user",
            //See https://www.latlong.net/ for your own coordinates
            Latitude: 37.388309,
            Longitude: -121.973968,
        },

        //Pass the current ConversationState stored from previous queries
        //See https://www.houndify.com/docs#conversation-state
        conversationState,

        //Sample rate of input audio
        sampleRate: recorder.sampleRate,

        //Enable Voice Activity Detection
        //Default: true
        enableVAD: true,

        //Partial transcript, response and error handlers
        onTranscriptionUpdate: handlers.onTranscriptionUpdate,
        onResponse: function (response: any, info: any) {
            recorder.stop();
            handlers.onResponse(response, info);
        },
        onError: function (err: any, info: any) {
            recorder.stop();
            handlers.onError(err, info);
        },
    });

    return voiceRequest;
}
Let's break down this code:
- RequestHandlers: a type interface for functions to respond to the states of the voice request
// lib/types.ts
export interface RequestHandlers {
    onResponse(response: any, info: any): void;
    onTranscriptionUpdate(transcript: any): void;
    onError(err: any, info: any): void;
}
conversationState: Read the docs here
recorder: An
AudioRecorderobject from the SDK. It allows capturing the audio stream from the user's microphone. We have to use theanytype here as the SDK has no types defined (such a shame!)enableVAD: When enabled, the request will be sent once the user stops speaking
ts-ignore: Disables linter warnings in the editor for accessing
window.Houndify. This contains a reference to the Houndify browser SDK. We can include this SDK from a CDN with the following code inpublic/index.html:
<script src="https://unpkg.com/houndify@3.1.12/dist/houndify.js"></script>
Voice input display
Now create a file named VoiceInput.ts inside the src directory and add the following code:
import { useAtom } from "jotai";
import { useRef } from "react";
import { Mic, MicOff } from "react-feather";
import { recorderAtom, recordingAtom } from "./store";
import styles from "./VoiceInput.module.scss";

interface VoiceInputProps {
    transcription: string;
}

export default function VoiceInput({ transcription }: VoiceInputProps) {
    const [recorder] = useAtom(recorderAtom);
    const [recording] = useAtom(recordingAtom);

    const onClickMic = () => {
        if (recorder && recorder.isRecording()) {
            recorder.stop();
            return;
        }

        recorder.start();
    };

    const Icon = recording ? MicOff : Mic;

    return (
        <div className={styles.inputContainer}>
            <button
                type="button"
                title={`${recording ? "Stop" : "Start"} voice query`}
                onClick={onClickMic}
            >
                <Icon size={64} color="#343434" />
            </button>
            <div>
                <div className={styles.transcript}>{transcription}</div>
            </div>
        </div>
    );
}
This component does the following:
Takes a transcription string which will what the user had currently said
Makes use of the atoms defined in
lib/store.ts. They allow us to access ourAudioRecorderobject and arecordingboolean. The boolean determines whether the user's microphone is being capturedWhen the button is clicked, the audio recorder is toggled. The button's icon then also updates
We can add our stylesheet now with the following code:
$backgroundColor: #e8e1d3;
$complimentColor: #efe8e7;

.inputContainer {
    display: flex;
    flex-direction: column;
    align-items: center;
    width: 100%;

    button {
        border-radius: 50%;
        padding: 20px;
        background: transparent;
        border: 3px solid black;

        &:hover {
            cursor: pointer;
            background: $complimentColor;
        }
    }
}

.transcript {
    background-color: lighten($complimentColor, 5%);
    border-radius: 10px;
    display: flex;
    justify-content: center;
    align-items: center;
    height: 30px;
    margin-top: 20px;
    flex: 1;
    min-width: 33.3vw;
    padding: 5px 10px;
}
And we can define our atoms in the src/lib/store.ts file:
import { atom } from "jotai";

export const recorderAtom = atom<any>(null);
export const recordingAtom = atom(false);
Building the App component
Replace the contents of src/App.tsx with the following code:
import { useCallback, useEffect, useRef, useState } from "react";
import styles from "./App.module.scss";
import initVoiceRequest from "./lib/initVoiceRequest";
import VoiceInput from "./VoiceInput";
import { useAtom } from "jotai";
import { recorderAtom, recordingAtom } from "./lib/store";

function App() {
    // Keep hold of the state
    const conversationState = useRef<any>(null);

    // Holds what the user is currently saying
    const [transcription, setTranscription] = useState("");

    // Any errors from the voice request will be stored here
    const [error, setError] = useState("");

    const [recorder, setRecorder] = useAtom(recorderAtom);
    const [recording, _setRecording] = useAtom(recordingAtom);

    const setRecording = (value: boolean) => {
        ...
        _setRecording(value);
    };
    ...

    return (
        <div className={styles.root}>
            <h1 className={styles.h1}>Assist310</h1>
            <VoiceInput transcription={transcription} />
            {error && <div className={styles.errorContainer}>{error}</div>}
        </div>
    );
}

export default App;
First, define our voice request handler functions:
const onResponse = useCallback((response: any, info: any) => {
    if (response.AllResults && response.AllResults.length) {
        const result = response.AllResults[0];
        conversationState.current = result.ConversationState;
        handleResult(result);
        setTranscription("");
    }
}, []);

const onTranscriptionUpdate = useCallback((transcript: any) => {
    setTranscription(transcript.PartialTranscript);
}, []);

const onError = useCallback((error: any, info: any) => {
    setError(JSON.stringify(error));
}, []);

const handleResult = (result: any) => {
    // We'll add more here later
};
You can view the server response format here.
We can now create an on-mount effect which will initialise the AudioRecorder object. Then, it ties its events to an initialised VoiceRequest object:
useEffect(() => {
    // @ts-ignore (2339)
    const audioRecorder = new window.Houndify.AudioRecorder();
    setRecorder(audioRecorder);

    let voiceRequest: any;

    audioRecorder.on("start", () => {
        setRecording(true);
        voiceRequest = initVoiceRequest(
            audioRecorder,
            conversationState.current,
            {
                onResponse,
                onTranscriptionUpdate,
                onError,
            }
        );
    });

    audioRecorder.on("data", (data: any) => {
        voiceRequest.write(data);
    });

    audioRecorder.on("end", () => {
        voiceRequest.end();
        setRecording(false);
    });

    audioRecorder.on("error", () => {
        voiceRequest.abort();
        setRecording(false);
    });
}, []);
First preview
First, add our global styles in src/index.css:
body {
    margin: 0;
    font-family: -apple-system, BlinkMacSystemFont, "Segoe UI", "Roboto",
        "Oxygen", "Ubuntu", "Cantarell", "Fira Sans", "Droid Sans",
        "Helvetica Neue", sans-serif;
    -webkit-font-smoothing: antialiased;
    -moz-osx-font-smoothing: grayscale;
    width: 100%;
    height: 100%;
    position: fixed;
}

#root {
    width: 100%;
    height: 100%;
}
This makes our main div element take up the entirety of the page and keeps all the content in one view.
To let our server from create-react-app know about our other server, we need to add a proxy to our package.json file:
{
    ...
    "proxy": "http://localhost:8080",
    ...
}
Now open up two terminal windows in the project directory. Run node server.js in one window and npm start in the other.
If everything is working, the server on port 8080 should log 8080, and the dev server should log its own port. Open the latter in your browser and you should see the following:
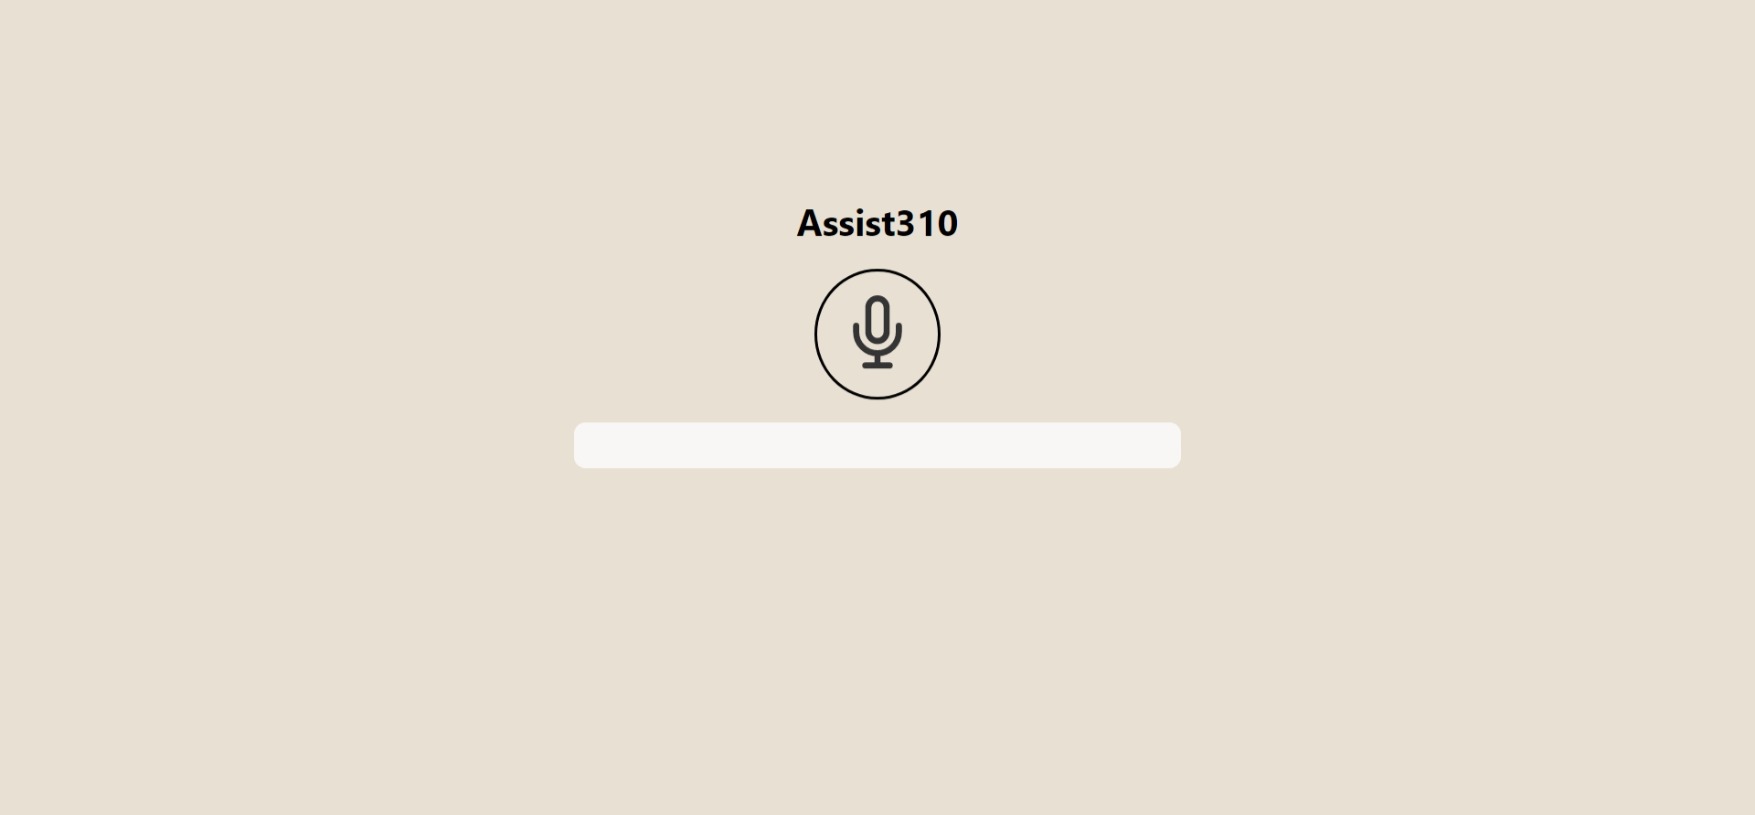
If you try to click the button and say a command, the client sends the request to the server. At the same time, it displays partial transcription. But nothing else will happen afterwards. So let's add output to the application.
Adding Text To Speech
We'll want to either display the written response or the spoken response from the server. Let's use the spoken response and implement TTS with the Web Speech API so the app can 'say' the response.
Setting this up is as easy as first adding the following to the top of the App.tsx file:
const speech = new SpeechSynthesisUtterance();

// Set to your language code
speech.lang = "en";

const say = (text: string) => {
    speech.text = text;
    window.speechSynthesis.speak(speech);
};
And then adding this code to our handleResult function:
const handleResult = (result: any) => {
    // We'll add more here later
    say(result["SpokenResponseLong"]);
};
And that's it all set up!
Audio feedback
But now, we can also add some auditory feedback when the user presses the main button. We can play audio files with the Howler.js library, which we can install with this line:
npm i howler
Then create a file at lib/playSound.ts with a function to play any audio source:
import { Howler, Howl, HowlOptions } from "howler";

export default function playSound(
    src: string,
    options?: Omit<HowlOptions, "src">
) {
    Howler.stop();
    new Howl({
        src,
        ...options,
    }).play();
}
Now import all we need at the top of our App.tsx file like so:
import { Howl } from "howler";

import startSound from "./audio/start.wav";
import stopSound from "./audio/stop.wav";
import playSound from "./lib/playSound";

const sources = {
    start: startSound,
    stop: stopSound,
};
You can download the mic alert sounds here. Add them to the src/audio folder with their respective names: start and stop.
Then add the following line to the setRecording function:
playSound(sources[value ? "start" : "stop"]);
And now open up the browser. You should hear the played audio and the spoken responses.
Bonus - Visualising audio input
We can use the Wave.js library to visualise the audio from the user's microphone, and install it with this line:
npm i https://github.com/WoolDoughnut310/Wave.js
Make sure to install it from my repo instead of from NPM. This is due to a slight change I made for it to work with our AudioRecorder object. I've made a pull request but I'm still waiting for a response from the library author.
Open src/VoiceInput.tsx and add the following import statement:
import { Wave } from "@foobar404/wave";
Then add the following code to the end of the onClickMic function we created earlier:
recorder.on("start", () => {
    if (canvasEl.current) {
        let wave = new Wave(
            {
                source: recorder.source as MediaElementAudioSourceNode,
                context: recorder.audioCtx as AudioContext,
            },
            canvasEl.current
        );
        wave.addAnimation(
            new wave.animations.Lines({
                top: true,
            })
        );
    }
});
Now run the code and we should be on par with the demo shown at the start.
Final notes
If you have any questions, feel free to drop a comment. And if you enjoyed this web-based Jarvis clone, make sure to share it with friends. Next time, we will add extra features, such as music playing and song identification. As before, I've left the code on my GitHub, so enjoy.


